New Layer New Layer
Menu

Blog

All posts tagged Winter Maintenance Guide

Sharpening Lawn Mower Blades

Achieving a Premium Cut: The Art of Sharpening Lawn Mower Blades

A lush, well-manicured lawn can be the pride of any homeowner. However, achieving that perfectly trimmed grass requires more than just regular mowing; it requires attention to detail, including the often overlooked task of sharpening lawn mower blades. Contrary to popular belief, simply having a razor-sharp edge isn’t enough to ensure a clean cut. The key lies in maintaining the proper angle and pitch of the grind.

The Importance of Proper Blade Sharpening

Imagine trying to slice through a loaf of bread with a dull knife versus a sharp one. The difference in results is clear – a dull blade tears and crushes, while a sharp blade effortlessly glides through, leaving clean, precise cuts. The same principle applies to lawn mower blades.

When your mower blades are dull or improperly sharpened, they tear and shred the grass rather than cleanly cutting it. This not only creates an unsightly lawn but can also stress the grass, making it more susceptible to disease and pest infestations. Regularly sharpening your mower blades is essential to maintain a healthy and attractive lawn.

Understanding the Angle and Pitch

Many people mistakenly believe that the sharper the blade, the better the cut. However, the angle and pitch of the grind are actually more crucial than the sharpness itself. A blade that is too thin and sharp is prone to bending during use, resulting in a blunt edge that rips rather than cuts the grass.

The ideal angle and pitch of the grind will vary depending on the type of mower and blade you have. Consult your mower’s manual or seek advice from a professional to determine the optimal specifications for your equipment.

The Sharpening Process

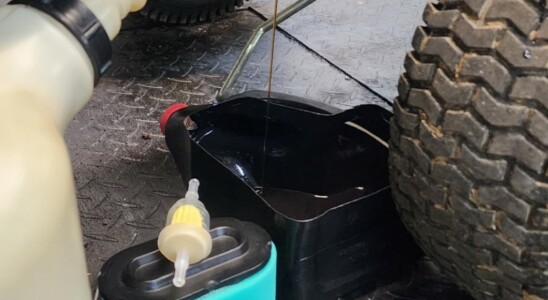
Sharpening lawn mower blades may seem like a daunting task, but with the right tools and technique, it can be relatively straightforward. Here’s a basic guide to sharpening your mower blades:

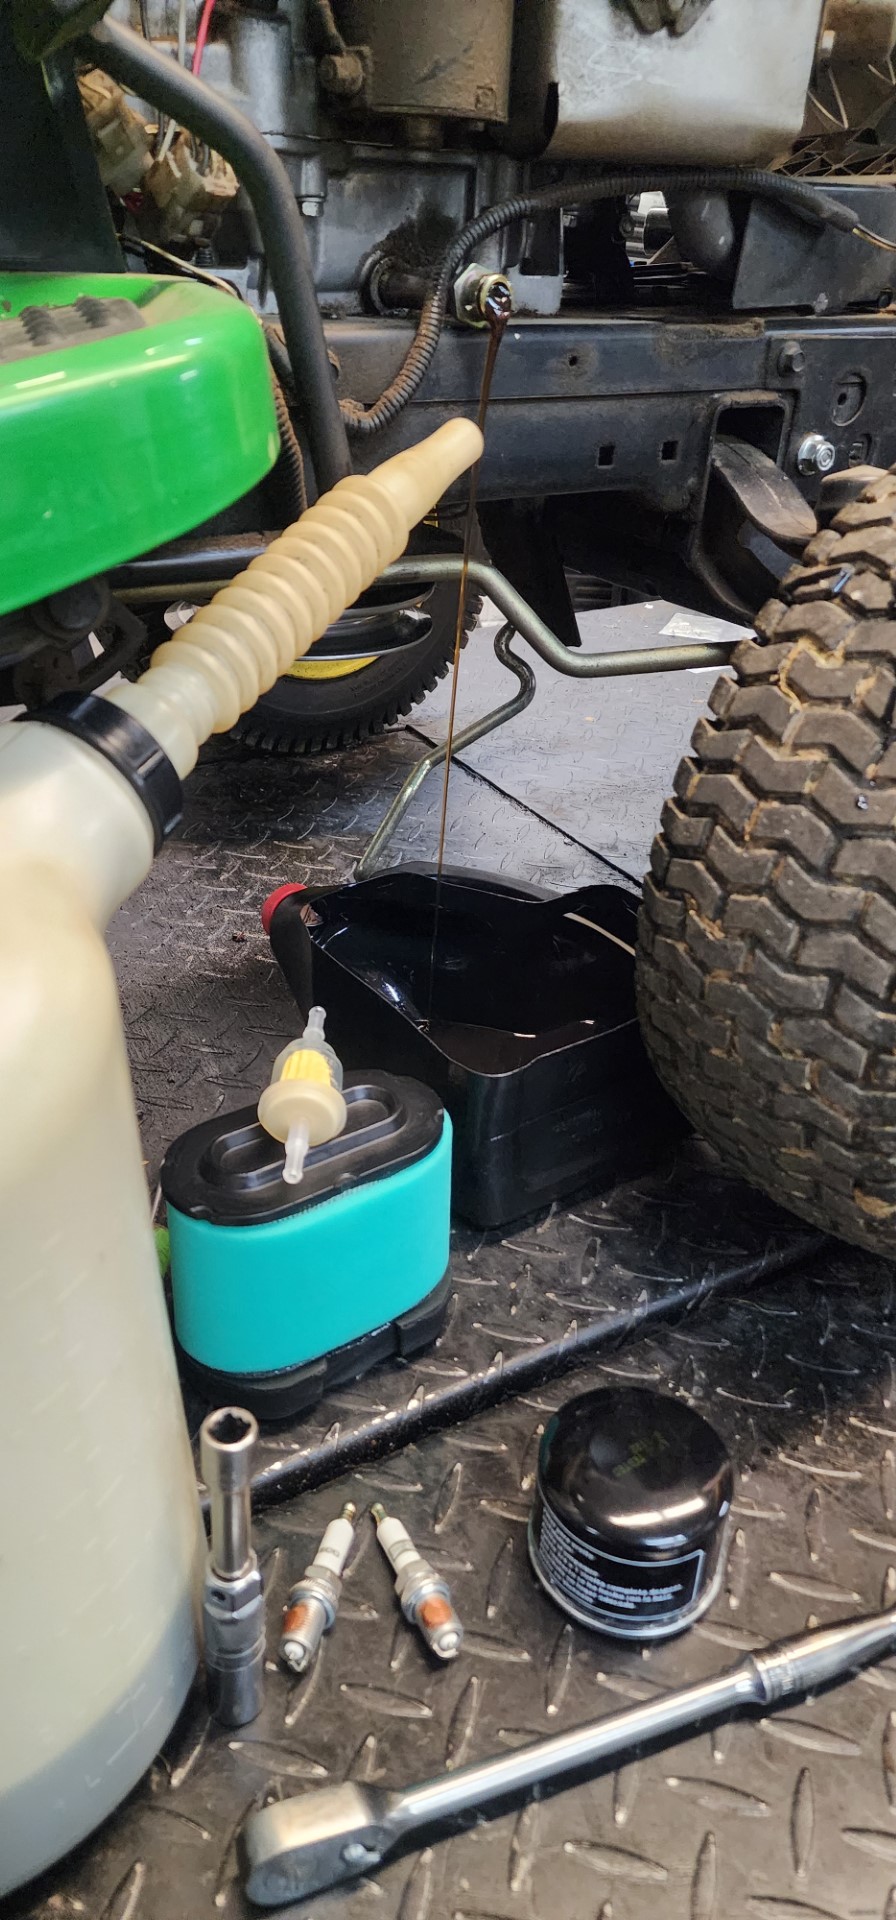
  1. Safety First: Before you begin, always disconnect the spark plug to prevent accidental starts. Wear gloves and eye protection to protect yourself from sharp edges and debris.
  2. Remove the Blade: Use a wrench to loosen and remove the bolts holding the blade in place. Take note of the orientation of the blade to ensure you reattach it correctly.
  3. Inspect the Blade: Take a close look at the blade for any signs of damage or wear. If the blade is severely damaged or bent, it may need to be replaced rather than sharpened.
  4. Sharpening: Use a grinder, file, or sharpening stone to sharpen the blade, following the manufacturer’s recommended angle and pitch. Take care to maintain a consistent angle and avoid overheating the blade, as this can weaken the metal.
  5. Balancing: After sharpening, it’s essential to balance the blade to prevent vibration and uneven cutting. This can be done using a specialized balancing tool or by suspending the blade on a nail or screwdriver and adjusting until it rests level.
  6. Reinstall the Blade: Once sharpened and balanced, reattach the blade securely, making sure to tighten the bolts firmly.

Conclusion: A Premium Cut Awaits

In conclusion, achieving a premium cut for your lawn starts with proper blade maintenance, including regular sharpening. Remember, it’s not just about sharpness – the angle and pitch of the grind are equally important factors in ensuring a clean and healthy lawn. By following the correct sharpening techniques and paying attention to detail, you can enjoy a beautifully manicured lawn that enhances the beauty of your outdoor space.

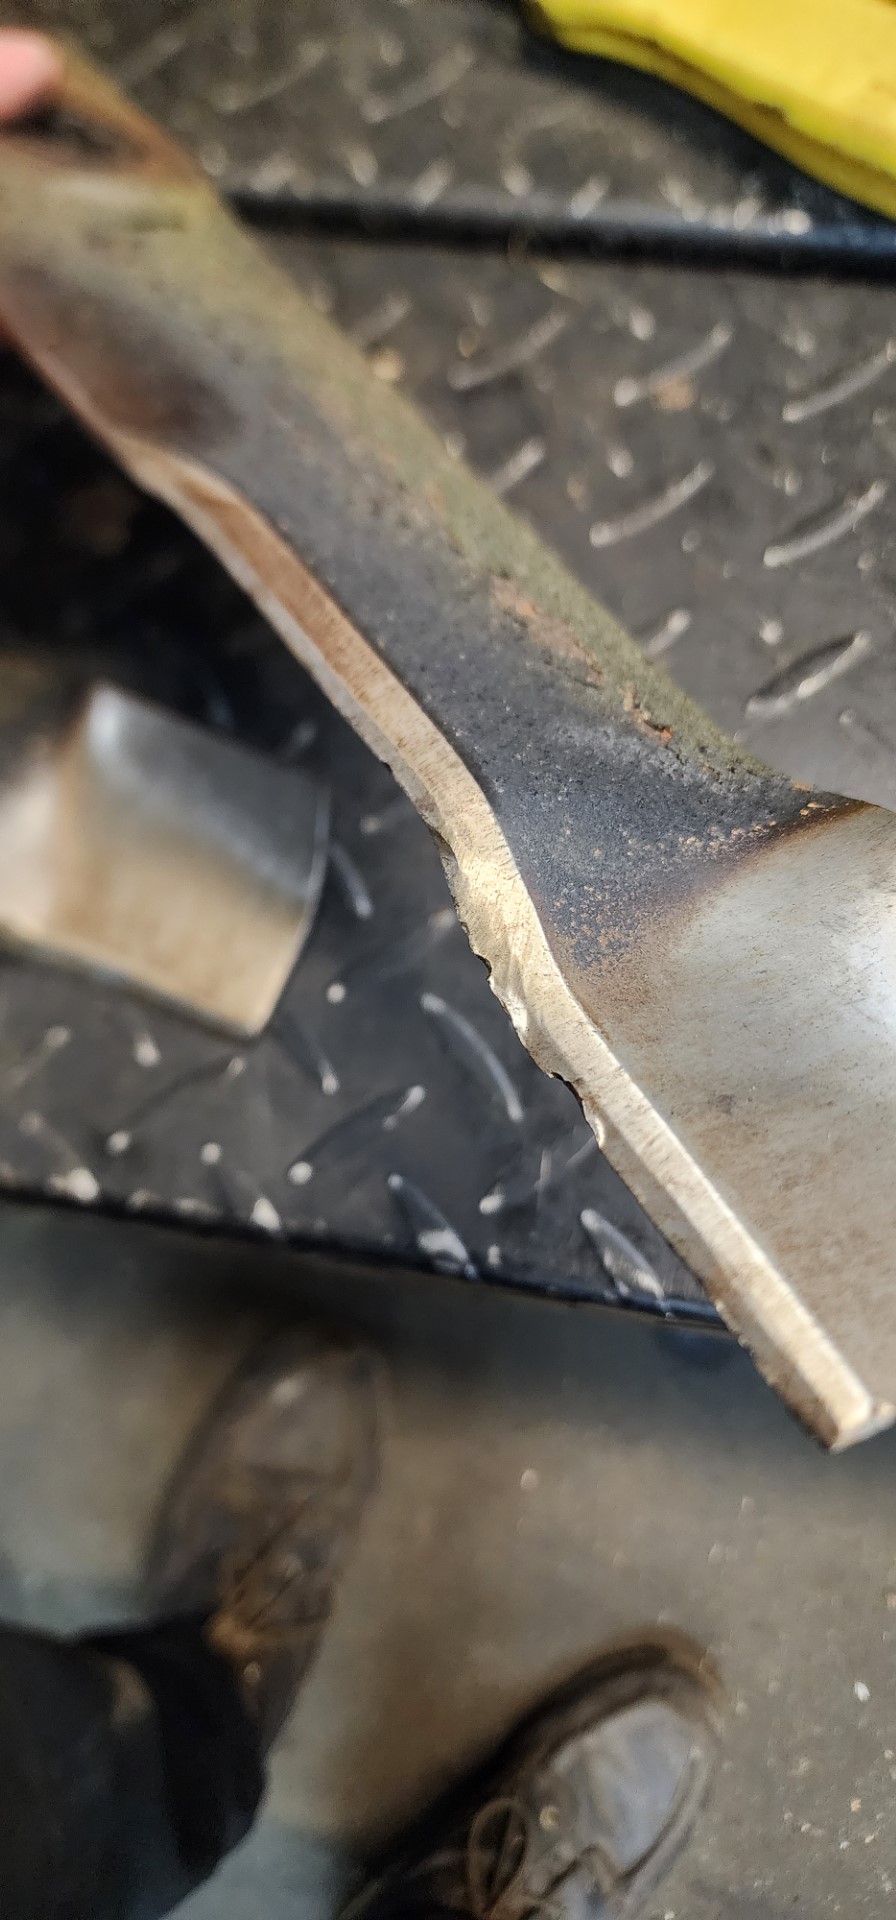
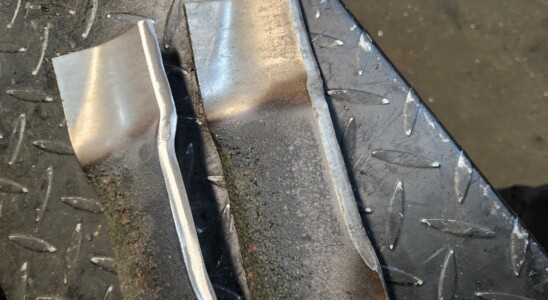
Incorrectly Sharpened
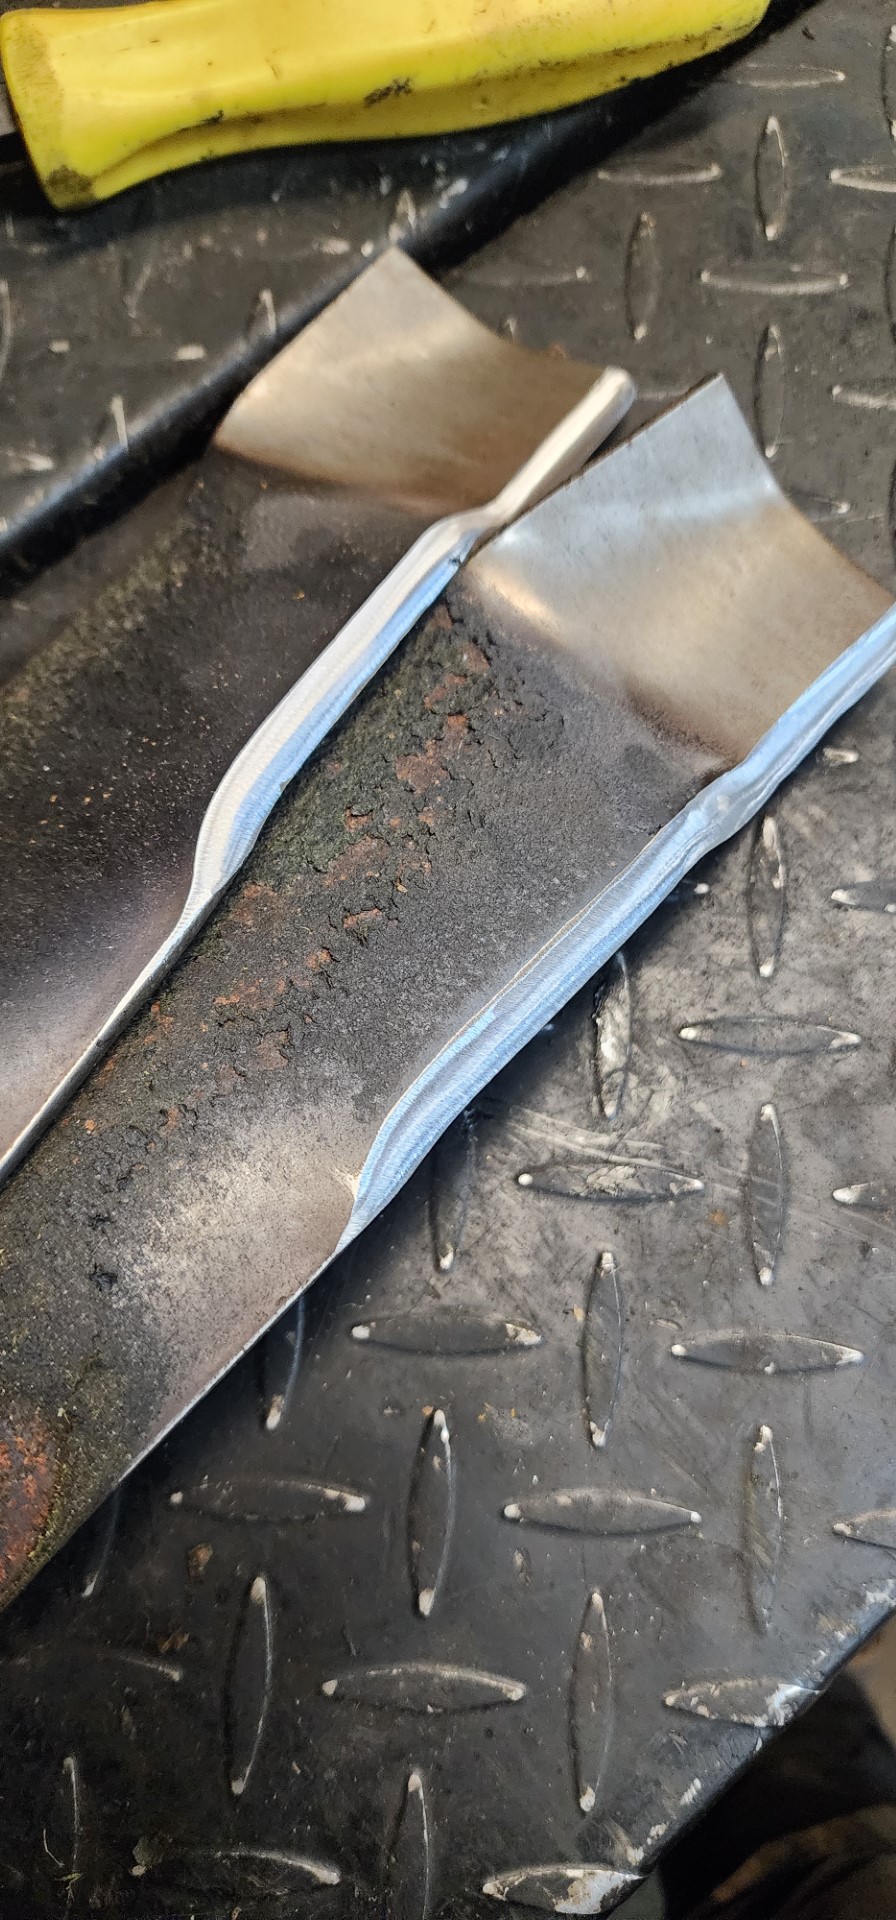
The perfect angle.


Winter service will ensure a worry free spring.

The Lifeline of Tractors: Regular Service Explained

🚜 The Lifeline of the Farm: Why Regular Tractor Service is Non-Negotiable

Introduction: Powering the Harvest

The tractor is the unquestioned workhorse of any property, operating under extreme conditions and heavy loads. It is an investment essential to your livelihood. However, even the most robust machinery needs consistent attention. Think of regular service not as an expense, but as the crucial fuel for your tractor’s longevity and peak efficiency. Let’s delve into why this routine care is the cornerstone of successful farm operation.

Why Regular Service Matters: The Ounce of Prevention

Routine maintenance is the ultimate defense against unexpected downtime. It is the cornerstone of preventative care. Technicians meticulously inspect critical components—from fluid levels and filtration systems to belts and hoses—identifying small issues like minor leaks or wear before they cascade into catastrophic mechanical failures. This proactive approach saves you from the severe stress, time-sinks, and costly, emergency repairs that a complete breakdown inevitably entails during a crucial season.

Ensuring Peak Performance: The Precision Machine

Like a finely tuned athlete, a tractor must be in optimal condition to deliver maximum output. Regular service ensures that all systems, including the engine, hydraulic pumps, and transmission, are working harmoniously. By addressing things like clogging carba or calibration issues, you maintain the tractor’s fuel efficiency and power output, ensuring you cover more ground in less time. This translates directly to a healthier bottom line.

Prolonging Lifespan: A Strategic Investment

Every hour your tractor runs causes wear and tear. Regular servicing, through proper lubrication and component replacement, minimizes the abrasive effects of friction and heat. This deliberate preservation significantly prolongs the operational lifespan of the equipment, maximizing the return on your initial investment and deferring the need for expensive new machinery.

Safety First: Protecting Your Crew

A well-maintained tractor is a safer tractor. Routine inspections prioritize the operator’s well-being by checking essential safety features like brakes, belts, tire pressure, and steering components. Preventing hazards is paramount, ensuring not only that you are protected but also that your operation adheres to necessary safety standards, making the field a safer working environment for everyone.


Conclusion: Regular service is, unequivocally, the lifeline of your tractor. Commit to this routine to optimize performance, maximize lifespan, and prioritize safety.

What’s the most unexpected issue a routine service check has ever caught on your property? Share your stories below!

Winter service will ensure a worry free spring.

The Lifeline of Tractors

Winterizing Your Equipment

Winterizing Your Equipment

A Comprehensive Guide to Ensure Peak Performance

Introduction: As winter approaches, it’s crucial to prepare your equipment for the colder months ahead. One key aspect of winterizing is protecting your machinery from the potential harmful effects of ethanol-containing fuels, such as pump gas. In this guide, we’ll walk you through the steps to safeguard your equipment, ensuring it’s ready to perform at its best when spring arrives.

Step 1: Remove Ethanol-Containing Fuel

Ethanol, commonly found in pump gas, can lead to various issues when left in your equipment during winter. It absorbs water, causing corrosion and fuel system damage. To prevent this, start by completely draining your equipment’s fuel tank. Ensure that no traces of ethanol-containing fuel remain.

Step 2: Top Off with Non-Ethanol Fuel

Once the tank is empty, refill it with a high-quality, non-ethanol fuel like tru-fuel. This ethanol-free alternative provides stability during storage, reducing the risk of fuel system problems. Run your equipment for a few minutes to circulate the ethanol-free fuel throughout the entire system, replacing any remnants of the previous fuel.

Step 3: Battery Maintenance

Your equipment’s battery is another critical component that needs attention during winterization. Ideally, removing the battery and storing it in a warm environment is the best practice. However, if that’s not feasible, keeping it on a genius tender will suffice. This ensures the battery remains charged and ready for action when you need your equipment again.

Additional Tips:

  1. Inspect and Clean: Before storing your equipment, take the time to inspect and clean it thoroughly. Remove any debris, grease, or dirt that may have accumulated during use.
  2. Oil Change: Consider changing the oil in your equipment before storing it for the winter. Fresh oil will protect the engine components and ensure smooth operation come spring.
  3. Protective Covers: If possible, use protective covers to shield your equipment from the elements. This extra layer can prevent rust and keep your machinery in top condition.
  4. Check for Leaks: Before finalizing the winterization process, inspect your equipment for any signs of leaks. Addressing issues now can prevent bigger problems down the line.

Conclusion: By following these steps, you’re taking proactive measures to preserve the integrity of your equipment during the winter months. Ethanol-free fuel and proper battery maintenance are key components in ensuring that when spring arrives, your machinery is ready to tackle any task. Invest the time in winterizing now, and you’ll thank yourself later when your equipment performs flawlessly after the winter thaw.


Winterizing Equipment Preventing Damage from Ethanol clogging carb.

The result of ethanol fuel left in machine.

Visit Us On FacebookVisit Us On TwitterVisit Us On YoutubeVisit Us On Instagram